

Changing a tire is a basic skill that every driver should have in their arsenal. It can be a daunting task if you’ve never done it before, but with a little bit of practice, you’ll be able to do it in no time.
In this blog post, we’ll take you through the steps of changing a tire, from getting the right tools to removing the flat tire and installing the spare.
Step 1: Get the Right Tools
Before you start, make sure you have the right tools. You’ll need a spare tire, a jack, a lug wrench, and a wheel chock or brick. You can usually find all of these items in your car’s trunk or spare tire compartment.
Step 2: Find a Safe Spot
Once you have your tools, find a safe spot to change your tire. Look for a flat surface away from traffic. Make sure you engage the emergency brake and put the car in park. If you’re around flowing traffic, turn your hazards on. Also, use the wheel chock or brick to prevent the car from rolling.
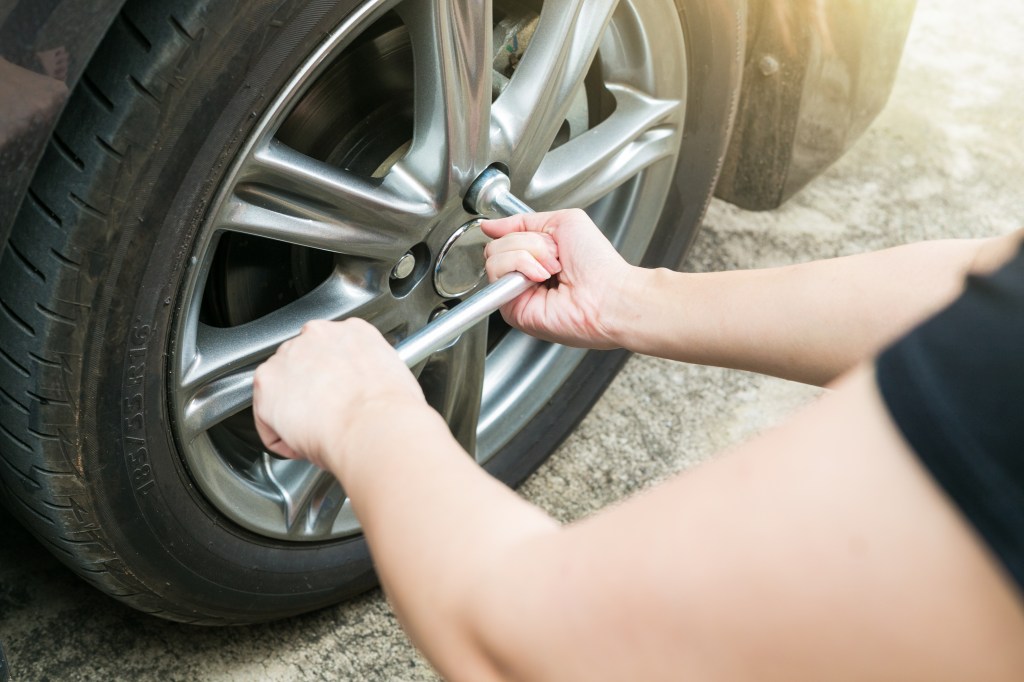
Step 3: Loosen the Lug Nuts
Next, use the lug wrench to loosen the lug nuts on the flat tire. Turn them counterclockwise until they are loose, but don’t remove them yet. It’s easier to loosen them while the car is on the ground because the tire won’t spin.
Step 4: Jack Up the Car
Place the jack under the car in the designated spot. Consult your car’s manual to find out where this is. Pump the jack handle until the car is high enough for you to remove the flat tire.
Step 5: Remove the Flat Tire
Once the car is high enough, remove the lug nuts and take off the flat tire. Be careful not to drop the lug nuts as you’ll need them later.
Step 6: Install the Spare Tire
Now it’s time to install the spare tire. Line up the holes in the spare tire with the bolts on the car. Push the spare tire onto the bolts until it’s flush with the hub.
Step 7: Tighten the Lug Nuts
Thread the lug nuts onto the bolts by hand, and then use the lug wrench to tighten them as much as you can. Start with the top nut, then the bottom one, then the two nuts on each side.
Step 8: Lower the Car
Once the lug nuts are tight, lower the car by turning the jack handle counterclockwise. Remove the jack from under the car.
Step 9: Finish Tightening the Lug Nuts
Use the lug wrench to tighten the lug nuts again, but don’t over-tighten them. Tighten each nut in a star pattern to ensure that the tire is on evenly.
Step 10: Check the Tire Pressure
Finally, check the tire pressure on the spare tire to make sure it’s safe to drive on. You can find the recommended tire pressure in your car’s manual or on the tire itself.

By following these ten steps, you’ll be back on the road in no time!
Need new tires? Check out these offers.

Leave a reply to Chico’s Mom Cancel reply